Stop Guessing Baby Bottle Flow: Nipple Guide for Parents
7th Oct•5 min read

Understanding baby bottle stages prevents midnight meltdowns and gas-filled nights. Knowing when to change bottle size isn't about calendars, it's reading your baby's sighs, gulps, and pauses. As a sleep-starved parent who once mapped feeding flows on sticky notes at 3 a.m., I know this: simple steps beat frantic improvisation. Let's cut the guesswork. Shrink the choices. Breathe through feeds.
Most parents hit a wall with confusing nipple labels. "Newborn" might mean Level 1 for one brand but Level 3 for another. Worst of all? Flow mismatches cause real pain:
This isn't about buying more gear. It's about matching infant bottle flow to your baby's pace right now. Your goal: calm feeds, predictable intake, and less mental load. Here's how.
Follow these steps in order. Each takes 2-5 minutes. Do them during daytime feeds when you're less drained.
Time: 1-2 days<br> Difficulty: ★☆☆ (Easy)
Stop checking age charts. Look for your baby's signals:
If zero signs appear? Stay at current stage. No change needed.
Time: 5 minutes<br> Difficulty: ★★☆ (Medium)
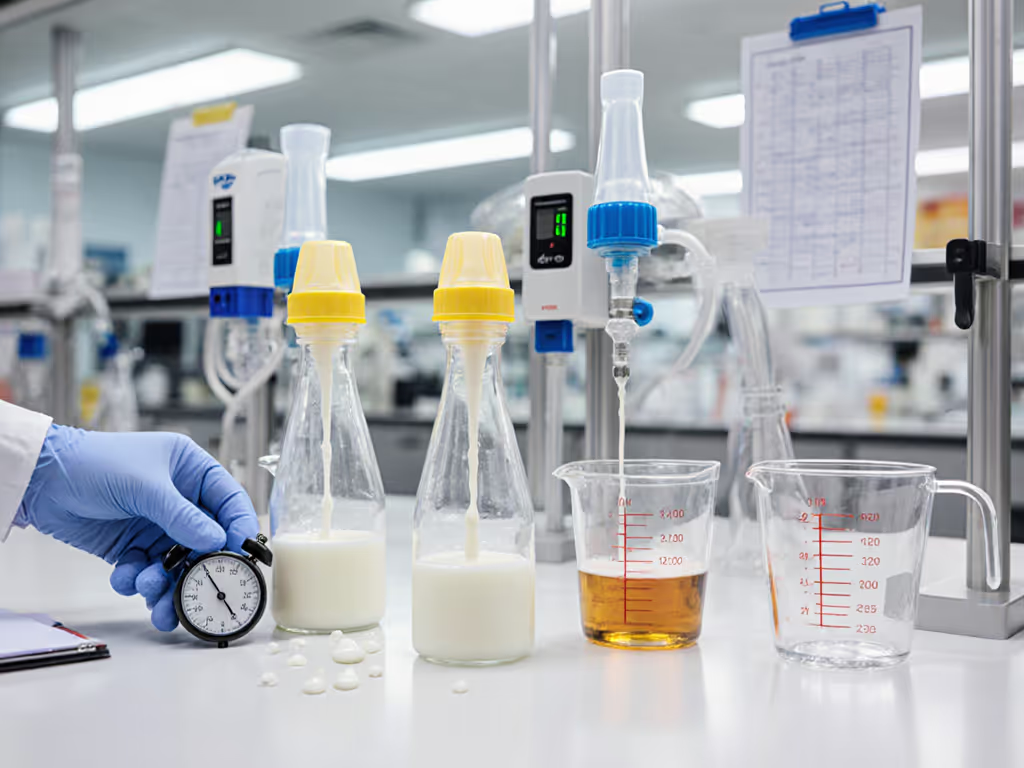
Toss generic "slow/medium/fast" terms. Compare actual flow rates: See our lab-tested flow rates guide for nipple shapes and when to transition.
| Brand | "Newborn" Label | Real Flow Level | Key Trait |
|---|---|---|---|
| Dr. Brown's | Level 1 | True slow | Preemie-tested flow |
| Most brands | Level 1 | Medium-slow | Often too fast for newborns |
| Playtex | Level 1 | Vacuum-free | Consistent flow session-to-session |
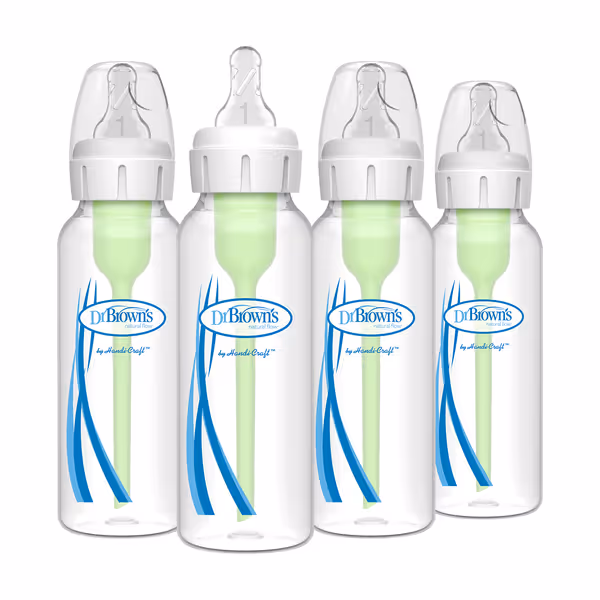
Example: Dr. Brown's Level 1 is genuinely slow. Many "Level 1" nipples elsewhere match their Level 2. Always test flow first.
Time: 2 minutes per nipple<br> Difficulty: ★☆☆ (Easy)
No baby needed. Hold bottle upside down:
Result: If flow feels too slow/fast to you, it's wrong for baby. Swap nipples immediately.
Time: 1 feed<br> Difficulty: ★☆☆ (Easy)
Gas or colic? Don't jump to bigger nipples. Fix the real issue: air intake.
This solves 70% of "flow" issues without new gear.
Time: 1-3 days<br> Difficulty: ★★☆ (Medium)
Critical rule: Never swap bottle, nipple, and formula at once. Isolate variables:
Why? If baby rejects it, you'll know exactly why. Saves 3 a.m. panic.
Time: 1 week<br> Difficulty: ★★★ (Hard)
Timing nipple upgrades is everything. Do it during a feeding when you see:
How: Dip new nipple in expressed milk. Offer it mid-feed when baby's slightly hungry (not starving). Praise any attempt, even lipping the spout.
Time: Ongoing<br> Difficulty: ★★☆ (Medium)
Begin transitioning from bottle to sippy cup at 6 months (not 12). Why?
How: Offer sippy cup with water during high-chair meals. Use handles for grip. Never force it, let baby play with it empty first.
"Simple steps beat midnight improvisation every time. Warm the milk, check nipple size, burp at 30 mL, switch sides, that's the difference between tears and calm."
Here's your next best step: At tomorrow's daytime feed, do the 10-second flow test (Step 3). If it's too slow/fast, swap to the next nipple level for that one feed only. Track baby's reaction in your notes app. That's it. One tiny move forward.
This isn't about perfection. It's about matching steps to your baby's rhythm. When flow clicks, feeds shrink from 20 minutes to 10. Gas fades. And you? You'll finally breathe through feeds (sticky notes not required).