When your baby starts daycare, mastering daycare bottle protocols becomes your new midnight mission. Forget improvising during bottle-feeding routines (those 3 a.m. sticky note sessions taught me that precise steps prevent chaos). Clear systems beat guesswork, especially when sleep is scarce. Today, I'll hand you the exact checklist I road-tested at 2 a.m. pace so daycare transitions feel predictable, not panic-inducing.
Daycare centers follow strict protocols not to frustrate parents, but to protect your baby. Think about it: multiple caregivers + hungry infants = zero room for error. A single unlabeled bottle could mean your preemie gets milk meant for a toddler. Uneven warming might burn delicate mouths. These rules exist because tired caregivers (like us!) make mistakes when choices multiply. Shrink the choices, follow the steps.
The 5-Minute Daycare Bottle Handoff Checklist
Labeling isn't bureaucracy, it's your baby's safety net. Follow these steps exactly:
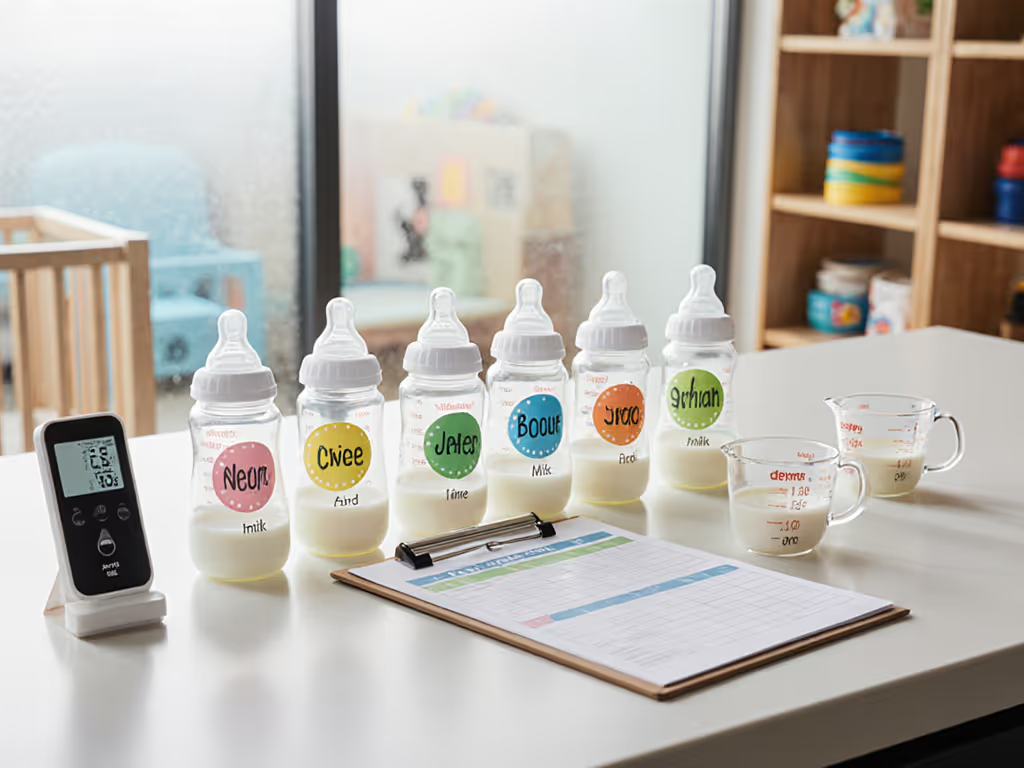
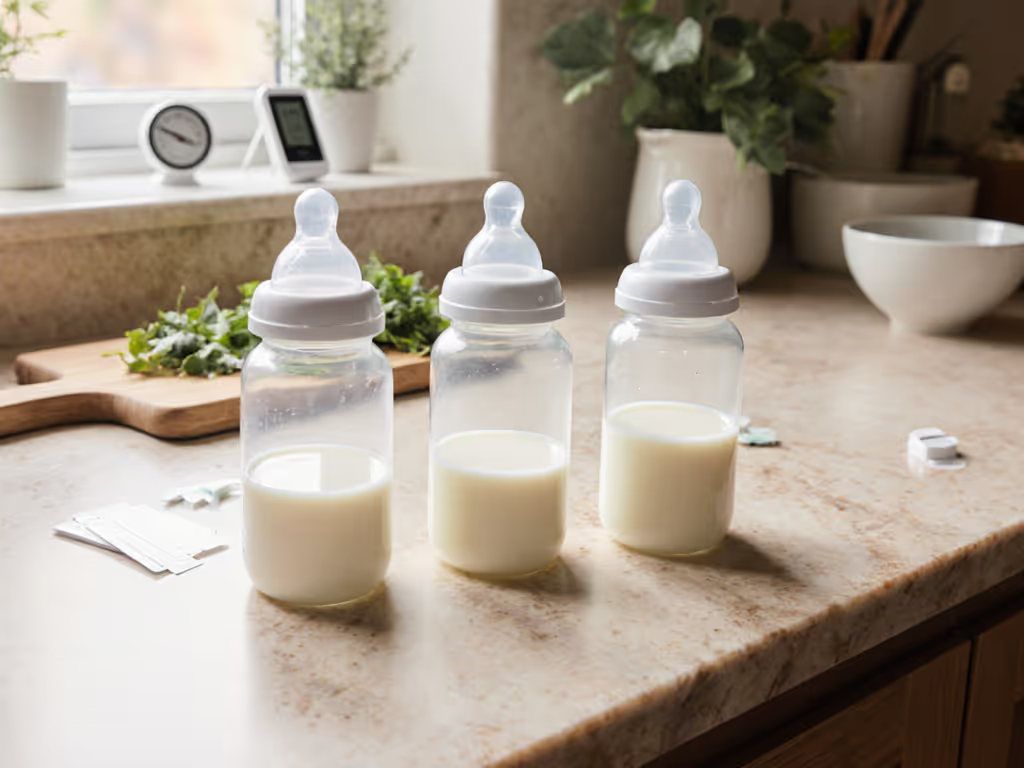
Step 1: Label Like a Pro (5 min, easy)
Do this: Write the child's FULL name and current date directly on every bottle or bag. Not initials. Not nicknames. Full legal name.
Why it matters: Centers reject unlabeled items (WA State rule 110-145-1805). One daycare told me a mom's milk got discarded because "B. Smith" matched two babies.
Breast milk storage labeling tip: Freeze bags flat, then label both sides with permanent marker. Bonus: Write "LEFT" or "RIGHT" if you track which breast was pumped.
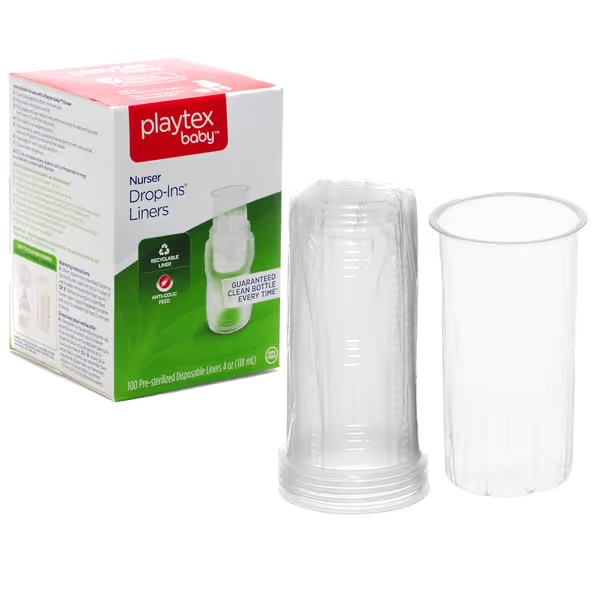
Difficulty upgrade: If using disposable liners (like Playtex Baby Nurser), write on the outer bottle (ink won't bleed through).
Playtex Nurser Disposable Liners
Pre-sterilized liners for anti-colic feeding, easy travel, and cleanup.
Collapsing liner reduces air ingestion for less gas/colic.
Pre-sterilized and disposable for ultimate convenience.
BPA-free material ensures safe feeding.
Cons
Some users report issues with air removal and leaking.
Customers love these bottles and find them easy to use and clean, particularly appreciating their convenience for travel. The bottles help with gas relief, especially for colicky babies. However, there are mixed experiences with air intake and leakage - while some report no issues, others mention difficulties with air removal and leaking. Additionally, the liners receive mixed feedback, with some customers reporting holes in the liners.
Customers love these bottles and find them easy to use and clean, particularly appreciating their convenience for travel. The bottles help with gas relief, especially for colicky babies. However, there are mixed experiences with air intake and leakage - while some report no issues, others mention difficulties with air removal and leaking. Additionally, the liners receive mixed feedback, with some customers reporting holes in the liners.
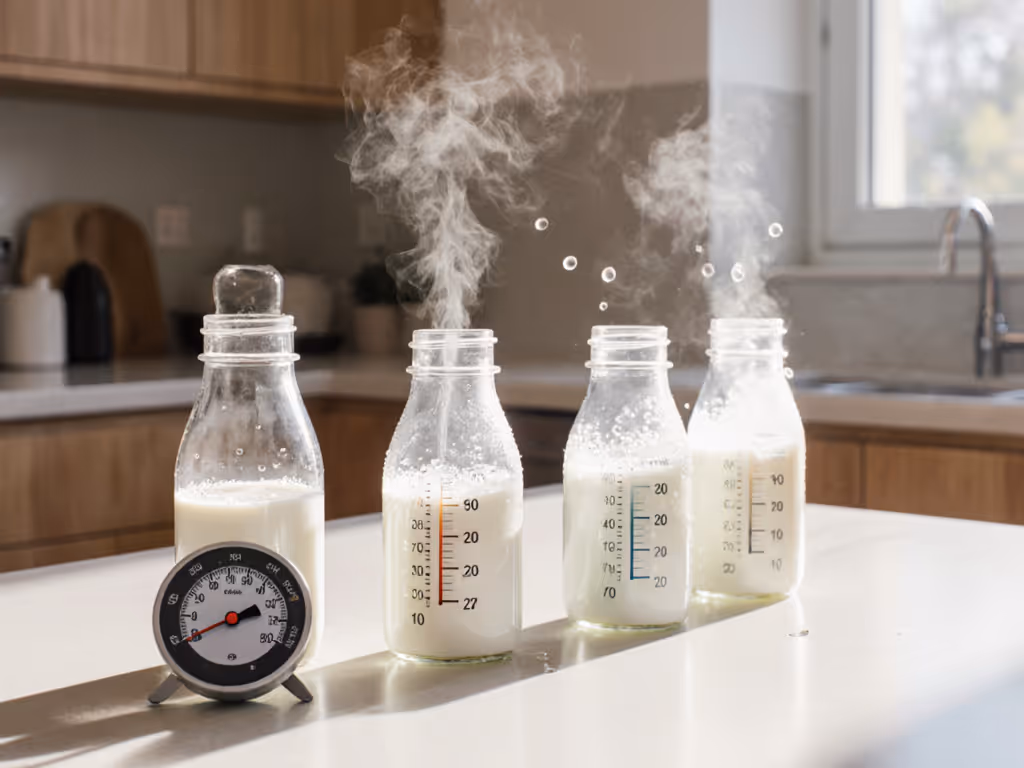
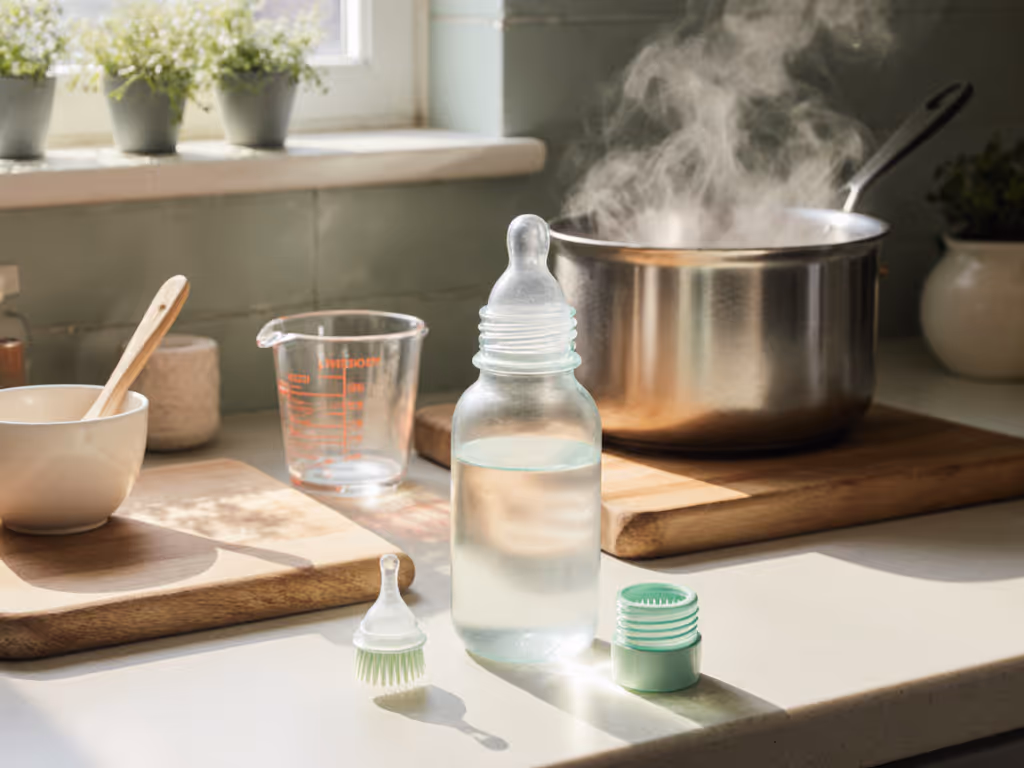
Step 2: Pack for Temperature Control (3 min, easy)
Do this: Use a small insulated bag with one frozen ice pack. Never pack bottles loose in your diaper bag. For accurate warming and storage practices, see our safe milk temperature guide.
Why it matters: Formula/breast milk must stay under 40°F during transport (CDC guidelines). Warm milk = bacteria breeding ground.
Temperature control for daycare hack: Ask your center: "Do you have a fridge in the classroom?" If not, request a labeled container inside their main fridge. Milk shouldn't sit at room temp >1 hour.
Do this: Hand bottles to staff cold, with feeding logs showing exact contents.
Bottle handoff procedures that work: Give bottles in your insulated bag with the ice pack still inside. Say: "This needs refrigeration until feeding. Warm water bath only, no microwave. Discard after 1 hour if unfinished."
Feed logs = your advocate: Jot down time pumped, ounces, and any special notes (e.g., "slow-flow nipple preferred"). Centers track this in daycare feeding logs; your note prevents "we ran out" excuses. For a seamless pump-to-daycare workflow, use our working parent bottle systems guide.
Avoid this trap: Never send pre-warmed bottles. They spoil fast, and centers can't verify temperature.
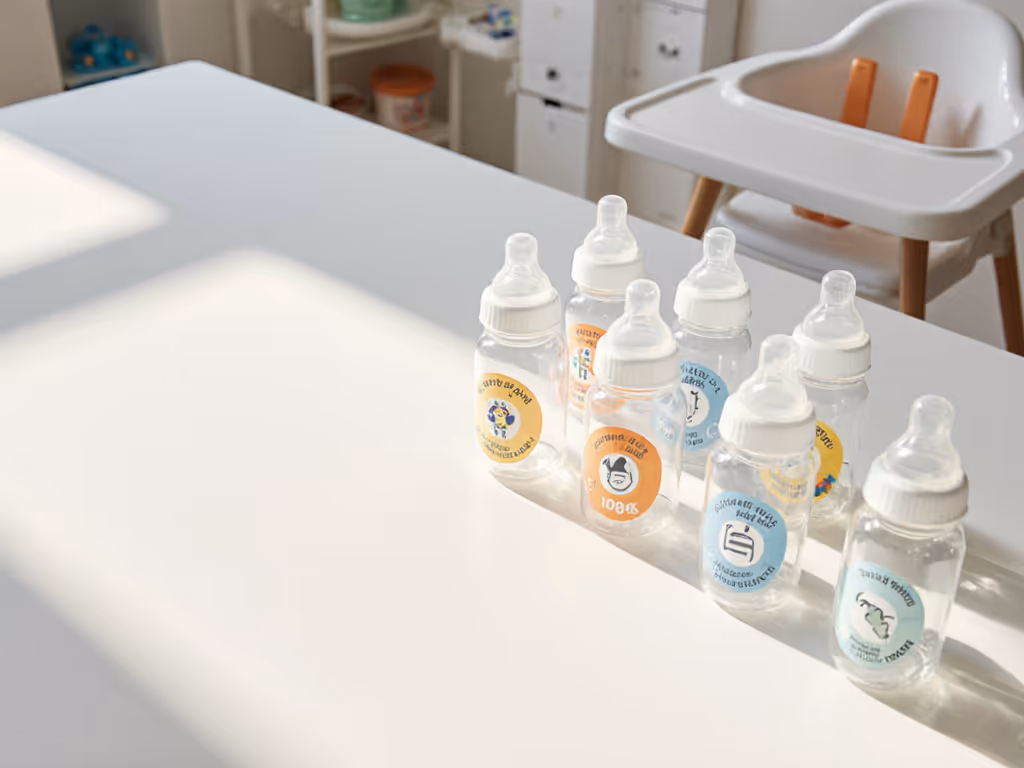
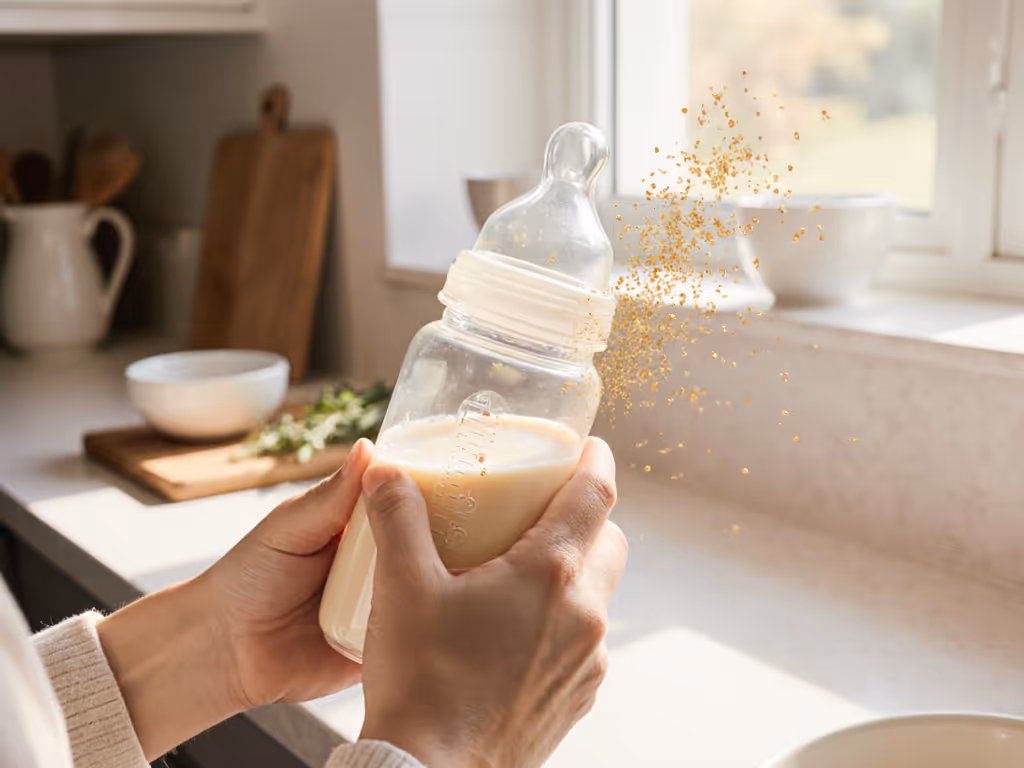
Step 4: Nipple & Flow Matching (7 min, medium)
Do this: Send only slow-flow nipples labeled "NEWBORN" or "LEVEL 1".
My sticky-note lesson: At 3 a.m., I mapped nipple sizes to intake. Matching flow to baby's pace stopped the 2 a.m. crying. For daycare, stick to slow-flow unless your pediatrician approves faster.
Pro tip: Tape a spare nipple inside the bottle lid. If one clogs during feeding, staff swap it instantly.
Step 5: The Drop-Off & Pick-Up Ritual (1 min, easy)
Do this: Confirm bottle storage and discard rules every single time.
Ask directly: "Where do bottles go when my baby's done?" Centers must discard unused milk after 1 hour (per CACFP guidelines). No "we save leftovers".
Pick-up hack: Designate one clean bag just for dirty bottles. Label it "DIRTY BOTTLES - NOT FOR REUSE". Stops staff from accidentally refilling yesterday's milk. After pickup, sanitize correctly with our step-by-step bottle cleaning guide.
When things go wrong: If milk is returned unopened, ask why. Maybe the bottle was unlabeled, or your baby napped through feeding time.
Shrink the choices, follow the steps, breathe through feeds. That's the mantra that got us through.
What Not to Do (From Hard-Won Experience)
Never send bottles without names/dates: they'll be tossed. Centers juggle 20+ babies; guesswork isn't an option.
Don't warm bottles at home: refrigerate until feeding. Warm milk left in a car seat = bacterial feast.
Skip the "special" nipples: daycare won't troubleshoot venting systems. Stick to basic slow-flow.
Final Reality Check
Daycare bottle protocols aren't about following rules for rules' sake. They're battle-tested guardrails for your exhausted self. When my baby finally accepted daycare bottles, it wasn't magic, it was matching the flow rate exactly and labeling like a lab tech. Simple steps beat midnight improvisation. Always.
Your actionable next step: Tonight, print just the 5-Minute Checklist above. Tape it to your fridge. Do only those steps tomorrow. Drop the rest until you've nailed these. Relief starts when choices shrink.
Remember: These protocols support medical care. They don't replace it. If your baby has feeding difficulties, consult your pediatrician first. No judgment here, just safe, repeatable steps for tired caregivers.