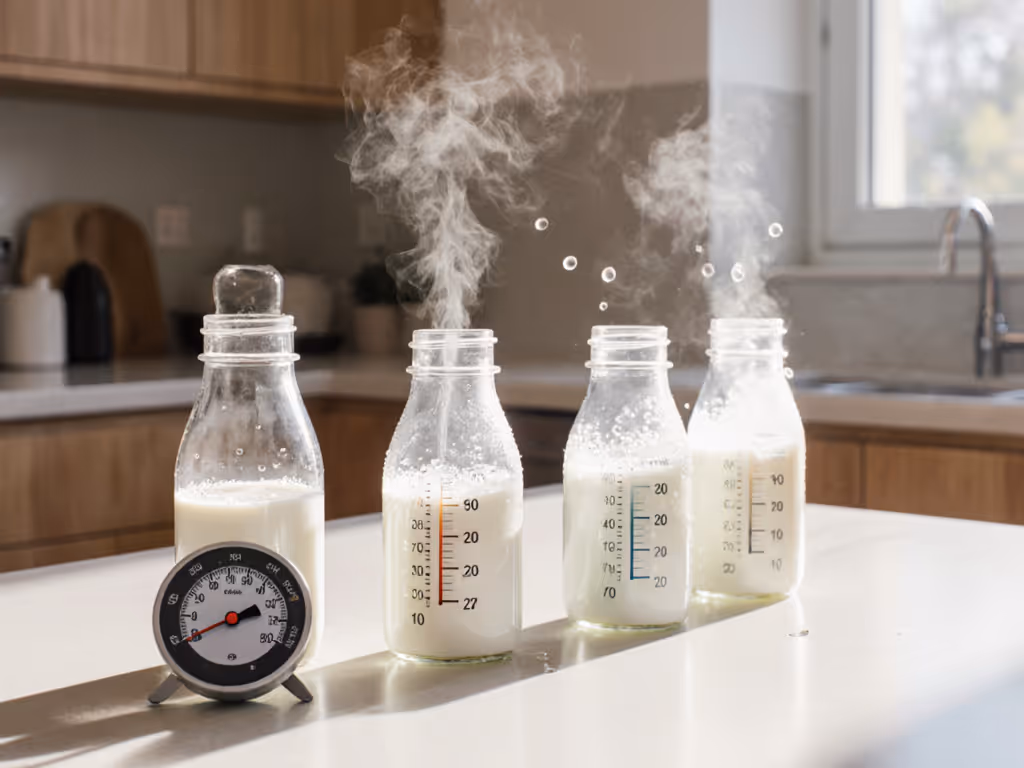
How Temperature Affects Bottle Flow Rates
12th Apr•8 min read
Let's talk about secondhand bottle safety and the smart way to approach a used baby bottle. If you're considering secondhand bottles to save money or reduce waste, you need more than hope (it demands a clear inspection routine). Sleepless parents don't have room for guesswork. I learned this scrubbing dried formula off a hand-me-down bottle at 3 a.m., with neon sticky notes mapping flow rates stuck to the fridge. Simple steps beat frantic improvisation, always. Today, you get a fatigue-tested checklist. Execute it in under 10 minutes. Breathe easier by morning.
Most articles just say "Don't buy used bottle nipples." True, but unhelpful when you're holding a gently used bottle set from your sister-in-law. You need actionable criteria, not absolutes. The CDC confirms germs multiply fast in improperly cleaned bottles, and worn nipples cause flow mismatches (a top reason for gagging or refusal). Get step-by-step hygiene and sterilizing advice in our bottle cleaning guide. Yet discarding functional gear feels wasteful. This checklist solves both: it identifies safe reused bottles while rejecting risky ones. No judgment, no fluff, just a field-tested path through the noise.
Do this before accepting or buying any used bottle. Each step takes 1-5 minutes. One card, one choice. Follow in order.
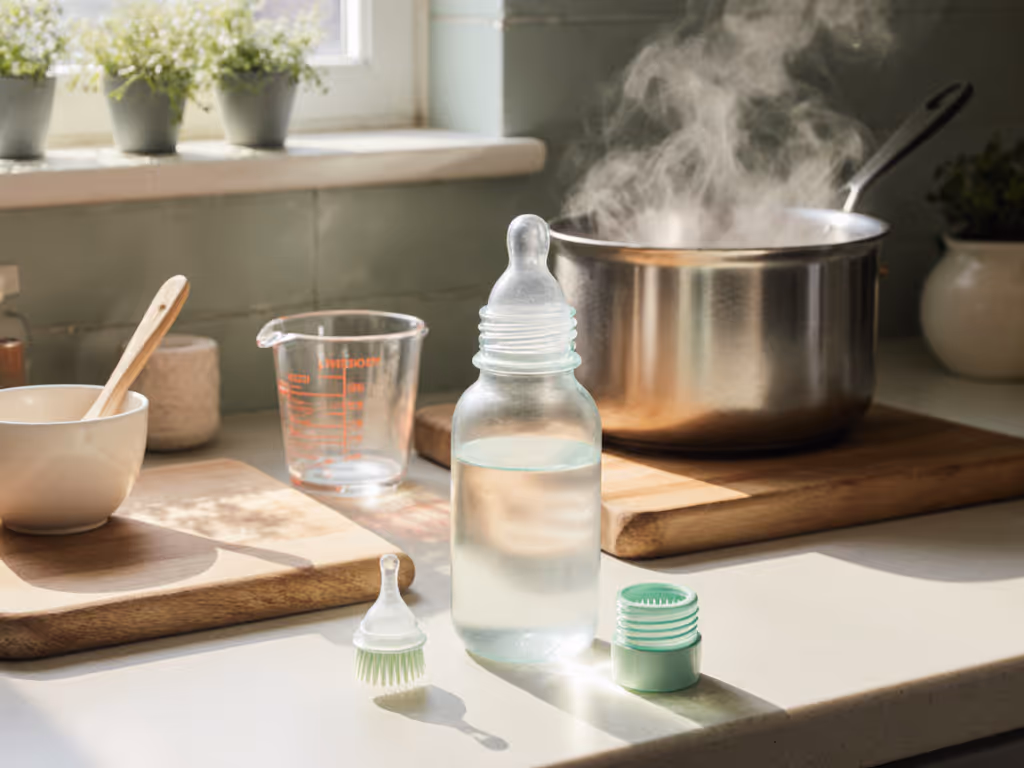
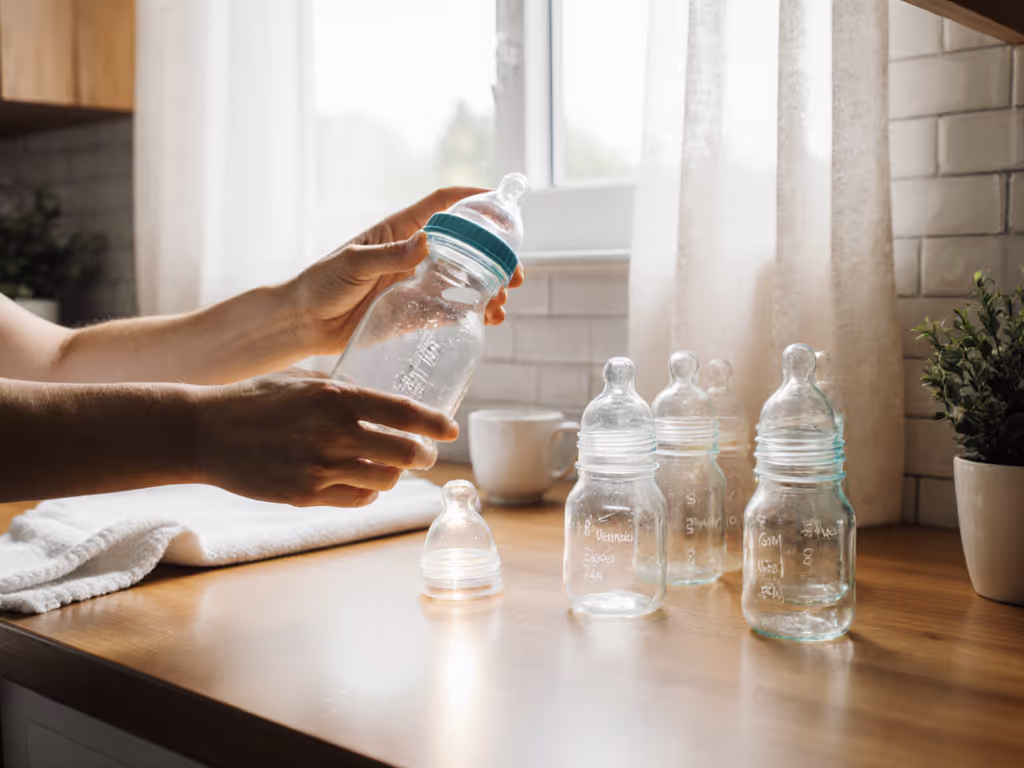
Gather supplies. Skip guesswork about "clean enough."
Shrink the choices, follow the steps, breathe through feeds.
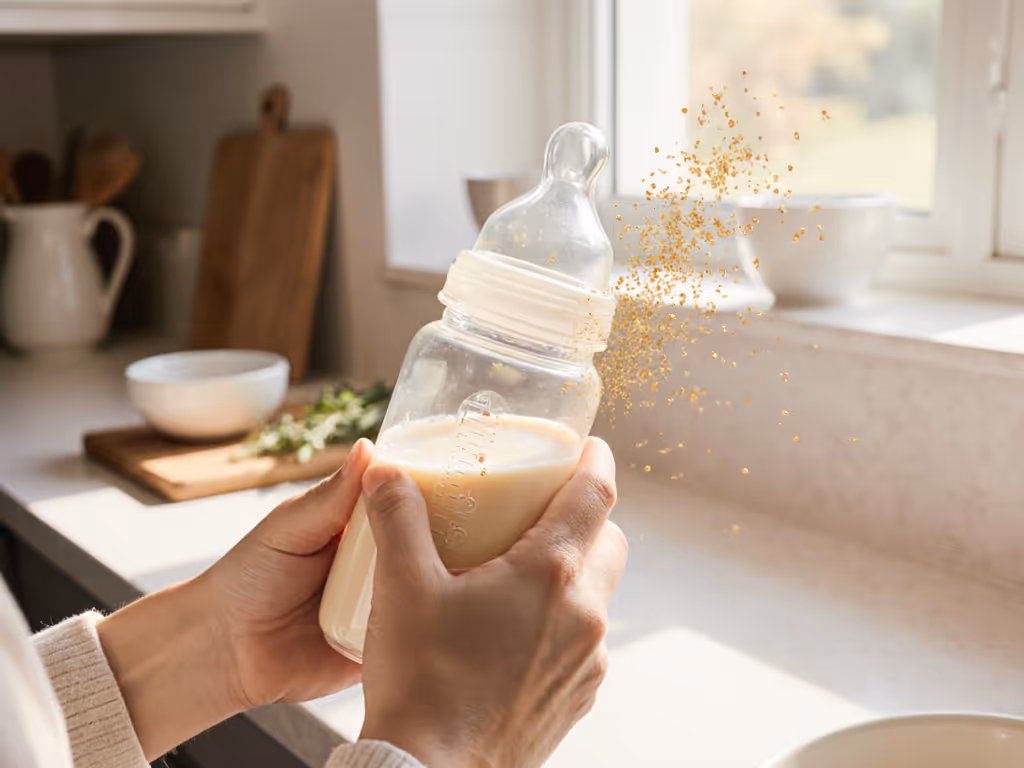
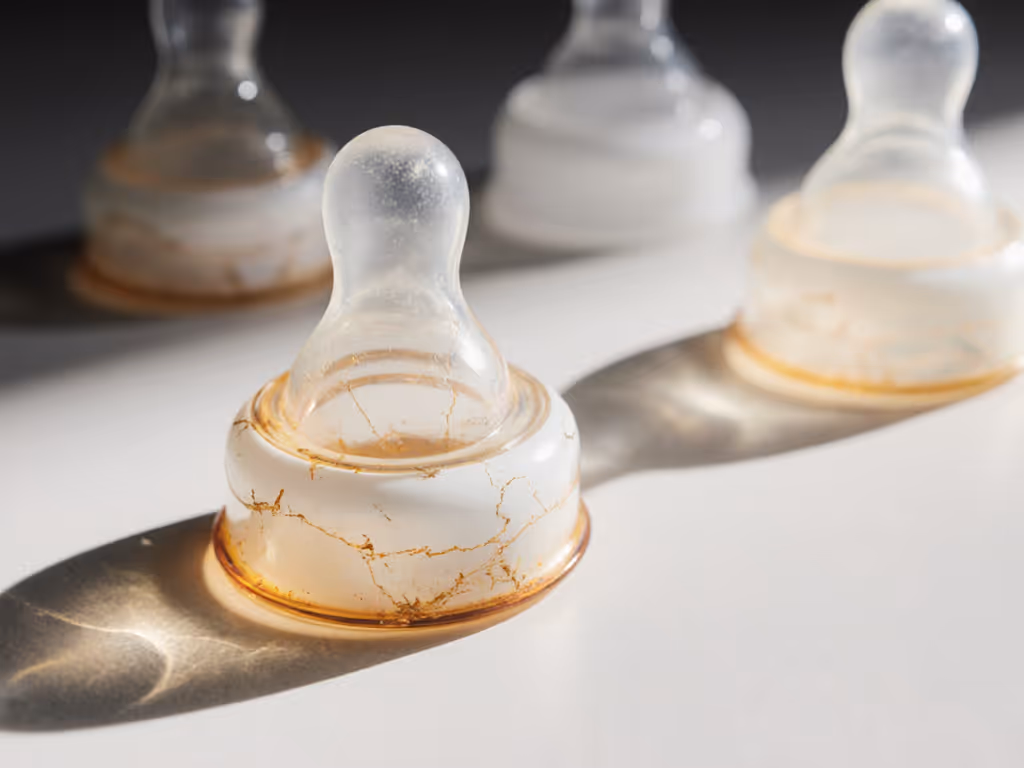
Spot hidden damage. If you skip this, flow issues will happen.
Hold each part against bright light. Check for:
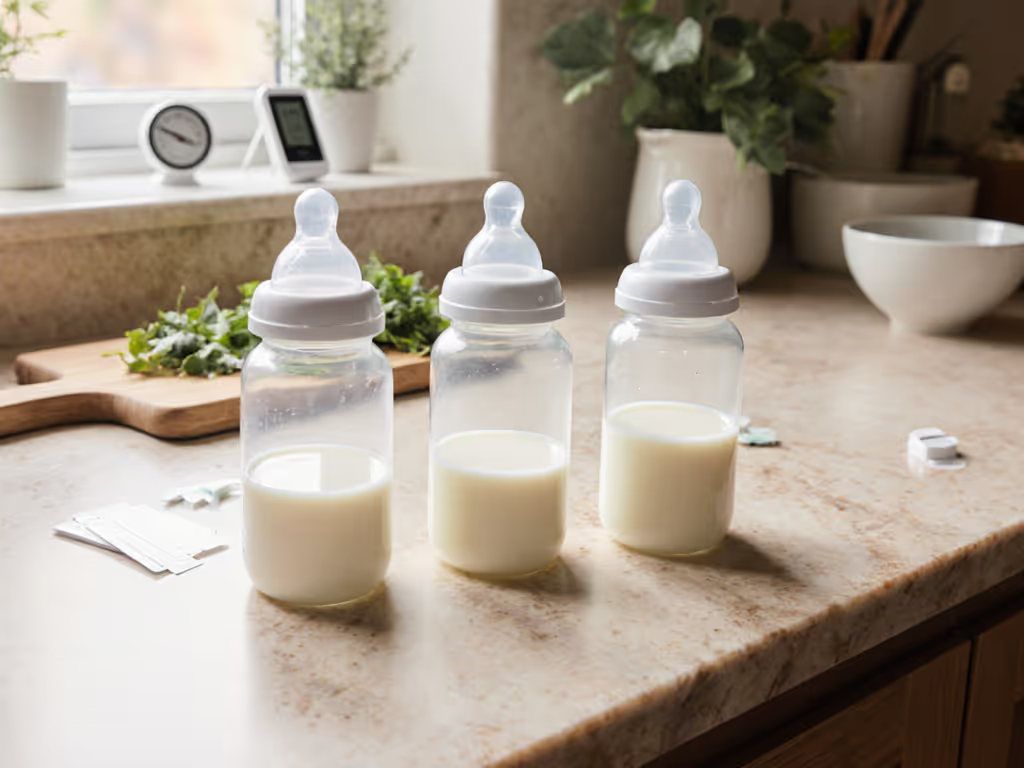
Time-saver: Only inspect one nipple per flow level. If it fails, discard all matching nipples. If you're unsure which nipple stage to keep, see our nipple flow rate guide.
Simulate baby's suck. This catches 90% of failure points.
Why this works: Mimics baby's real-time pressure changes. If it fails here, it will fail during feeding.
Avoid daycare disasters. Your last bottle must match existing gear.
Pro tip: If using daycare, confirm their bottle requirements first. Many centers reject hand-me-downs over liability, so save yourself the rejection.
If a bottle fails any step above, recycle it responsibly. Glass? Wrap in paper, label "broken," and discard in an outdoor bin. Plastic? Check the resin code (bottom). Codes #5 (PP) or #7 (Tritan) are often accepted curbside. Never donate failing bottles; "saving money" isn't worth reflux or choking risks.
Even new bottles need replacing. Track these bottle wear indicators:
Look for these eco-friendly bottle options when upgrading: Glass with silicone sleeves (dropsafe), Tritan plastic (BPA-free, dishwasher-proof), or stainless steel (for toddlers). For a deeper look at materials, certifications, and environmental impact, explore our sustainable baby bottles guide. But note: "Eco-friendly" doesn't mean sanitizable (avoid bamboo composites, which trap bacteria in pores).
Secondhand bottle safety starts with your checklist, not resale listings or well-meaning hand-me-downs. Clear steps build confidence when sleep is scarce. That night I mapped feeds on sticky notes? The breakthrough wasn't the notes, it was trusting the process. Bottle refusal dropped 80% once flow matched our baby's rhythm. No magic. Just method.
One card, one choice. Execute it tonight.
Grab one used bottle from your stash right now. Run Steps 1-3 of this checklist. Takes 6 minutes max. If it passes, you've expanded your safe feeding arsenal. If not, you've dodged a 2 a.m. meltdown. Either way, you win. Do it before bed. Sleep better knowing your gear earned its spot.