Baby Bottle Evolution: How Innovations Solved Feeding Challenges
31st Mar•7 min read

Over 25 percent of infants experience colic during their early months, leaving parents searching for real solutions. This common struggle can make every feeding time stressful and exhausting, especially when your baby cries for hours or refuses to settle. Learning how to manage colic with the right techniques and tools can bring welcome relief for both you and your child by turning challenging moments into calmer, more comfortable feeding sessions.
| Key Point | Explanation |
|---|---|
| 1. Recognize colic symptoms early | Look for patterns of prolonged crying, physical discomfort, and consistent timing to identify colic symptoms. |
| 2. Choose the right anti colic bottle | Assess your baby's feeding needs and select bottles designed to minimize air intake and discomfort during feeding. |
| 3. Properly prepare bottle components | Clean and sterilize bottles thoroughly, following manufacturer instructions for assembly to ensure safe feeding. |
| 4. Test for leaks and venting | Conduct a leak test to ensure bottle components fit correctly and air flow is unobstructed before feeding. |
| 5. Monitor feeding and adjust as needed | Observe your baby's cues during feeding to make adjustments, ensuring a comfortable and effective feeding experience. |
Spotting colic in your baby requires careful observation and understanding of specific behavioral patterns. By learning to recognize these distinct signs, you can better support your little one through challenging moments and seek appropriate guidance from pediatric professionals.
During a typical colic episode, your baby will display several unmistakable symptoms. Look for intense, high pitched crying that seems more urgent and louder than normal fussiness. These crying episodes often occur predictably during evening hours and can last for several minutes to hours. Your baby might have a bright red, flushed face and demonstrate physical signs of discomfort such as tightened stomach muscles, clenched fists, and legs pulled up toward their belly. The crying appears seemingly without a clear trigger and continues even after feeding, changing, or typical comfort measures.
Paying close attention to these patterns is crucial. While occasional fussiness is normal, consistent episodes of prolonged crying accompanied by physical tension could indicate colic. Most pediatric experts recommend tracking the frequency and duration of these symptoms to help distinguish between normal infant behavior and potential colic. If you notice your baby experiencing these signs consistently three or more times per week, for several hours at a time, consult your pediatrician for professional guidance and potential strategies to manage your baby's comfort.
Pro Tip: Keep a daily log of crying episodes, noting start time, duration, and observable symptoms. This documentation can provide valuable insights for your healthcare provider.
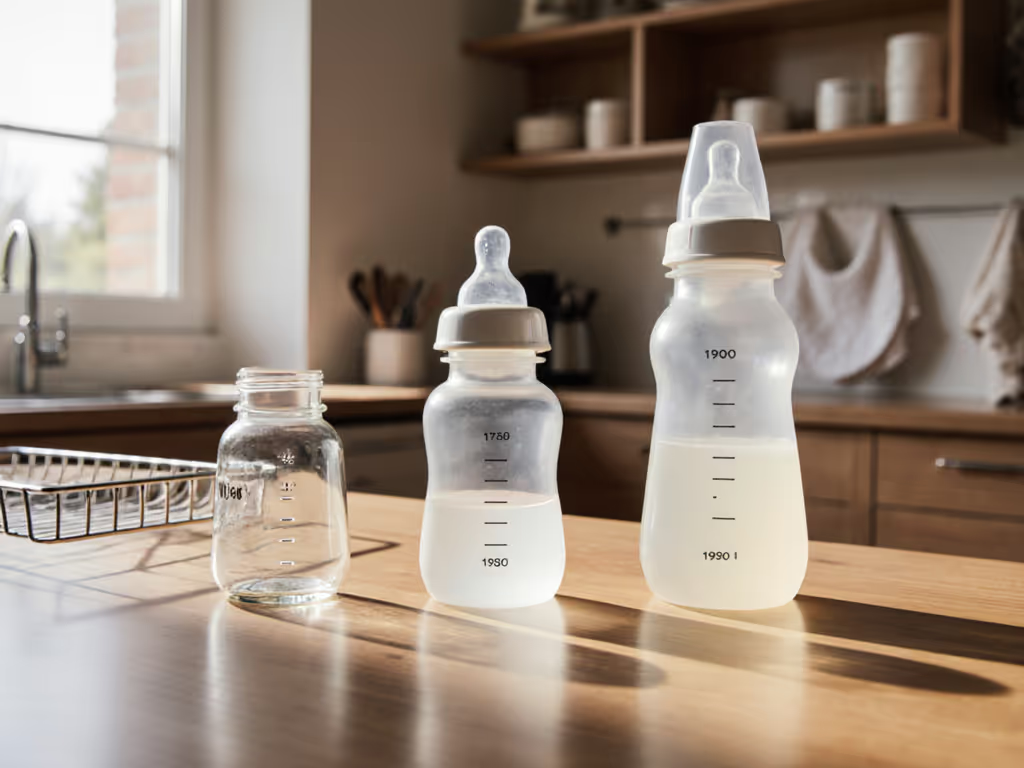
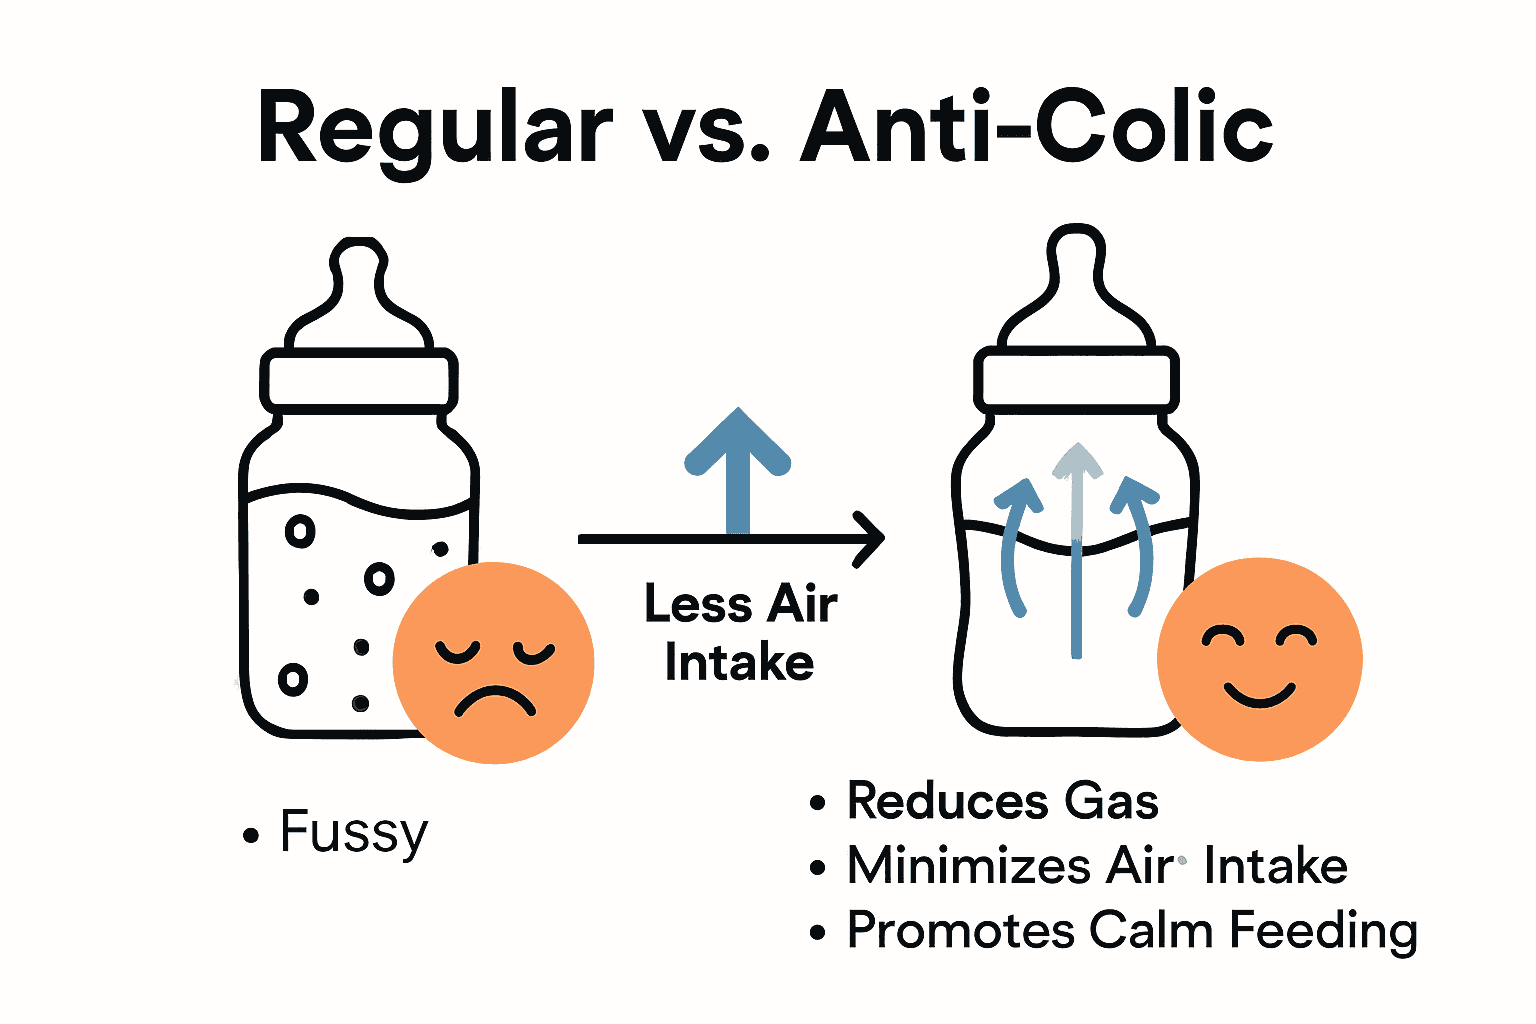
Choosing the perfect anti colic bottle requires understanding your baby's unique feeding needs and your specific lifestyle considerations. This selection process goes beyond simply picking a bottle off the shelf and involves thoughtful evaluation of multiple factors to ensure your little one experiences comfortable and stress free feeding sessions.
Start by assessing your baby's specific feeding challenges. Different anti colic bottles offer unique venting mechanisms designed to reduce air intake during feeding. Some bottles feature internal venting systems that help minimize gas and discomfort by creating a more consistent flow and preventing air bubbles from mixing with milk. Consider your baby's age consumption rate and whether they tend to gulp quickly or feed slowly. Bottles with soft nipples that mimic natural breastfeeding can help reduce nipple confusion for breastfed babies while providing gentle flow control.
When evaluating anti colic bottle options pay close attention to material composition and compatibility with your existing feeding routine. Look for bottles made from medical grade materials free from harmful chemicals like BPA. Consider additional features such as ease of cleaning narrow necks versus wide mouth designs and whether the bottle parts are dishwasher safe. Some parents prefer bottles with interchangeable components that can grow with their baby or connect seamlessly to breast pumps. Ultimately your goal is finding a bottle that reduces feeding stress minimizes air intake and provides your baby with a comfortable feeding experience.
Pro Tip: Always test multiple bottle styles and observe your baby's response. What works perfectly for one infant might not suit another best feeding approach requires patience and willingness to experiment.
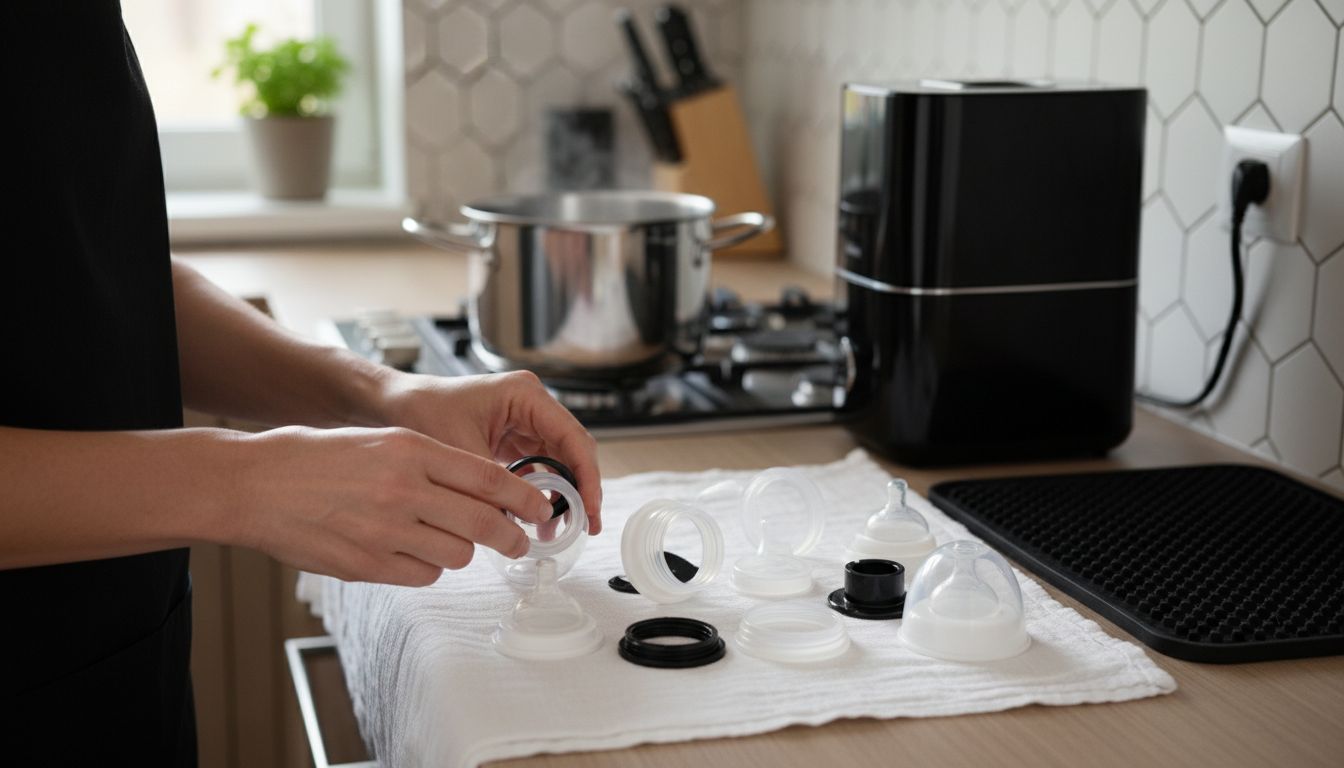
Preparing your baby bottle requires precision patience and careful attention to detail. Your goal is creating a safe feeding environment that ensures your baby receives clean nourishment without risking contamination or improper assembly that could compromise feeding effectiveness.
Begin with thorough hand washing using antibacterial soap and warm water. Carefully inspect each bottle component checking for any visible damage or wear. Disassemble the bottle completely including removing the nipple ring seal and any internal venting mechanisms. Rinse each piece under running water to remove any dust or manufacturing residue. Use a specialized bottle brush to clean interior surfaces reaching all crevices where milk residue might accumulate. After cleaning sterilize all components by boiling them in water for approximately five minutes or using a dedicated bottle sterilization device that eliminates potential harmful bacteria.
When reassembling your bottle follow the manufacturer's specific instructions precisely. Align nipple rings seals and venting systems carefully ensuring each component fits snugly without gaps. Check that the nipple is securely attached and the threading matches correctly to prevent potential leaks during feeding. Some anti colic bottles require specific alignment of internal venting mechanisms so read instructions carefully. Always allow sterilized components to air dry on a clean designated surface before final assembly. Storing assembled bottles in sealed sterile containers can help maintain their cleanliness until youre ready for feeding.
Pro Tip: Create a dedicated clean workspace for bottle preparation and consider having backup bottle sets to streamline your feeding routine during busy or exhausting moments.
Ensuring your anti colic bottle works perfectly requires a systematic approach to testing its performance before actual feeding. Think of this step as your quality assurance process to guarantee your baby receives a comfortable feeding experience without unexpected interruptions or discomfort.
Start by conducting a visual inspection of all bottle components. Check that the nipple venting system is clear and unobstructed. Fill the bottle approximately three quarters full with lukewarm water and turn it upside down to test for potential leaks. A well assembled anti colic bottle should have minimal to no liquid escaping from the sides or around the nipple area. Pay special attention to the seal between different bottle components particularly where the nipple ring meets the bottle neck. Gently squeeze the bottle to simulate feeding pressure and observe how the internal venting mechanism manages air flow. A properly functioning anti colic bottle will allow a steady controlled release of liquid without creating excessive air bubbles or sudden liquid surges.
Part of effective leak checking involves understanding your specific bottle design. Some anti colic bottles have complex internal venting systems that require precise alignment during assembly. Rotate and recheck connections if you notice any inconsistent flow or unexpected leakage. Repeat the water test multiple times from different angles to ensure consistent performance. If you consistently encounter leaks or irregular flow patterns consider consulting the manufacturer or replacing specific components.
Remember that even minor manufacturing imperfections can significantly impact your babys feeding comfort and overall experience.
Pro Tip: Perform these checks over a clean towel or sink to minimize potential mess and always have a backup bottle ready in case your primary bottle fails the leak test.
Effective bottle feeding is an ongoing process of observation understanding and gentle adaptation. Your primary goal is creating a feeding experience that keeps your baby comfortable nourished and content while minimizing potential digestive discomfort or feeding challenges.
During each feeding session pay close attention to your babys physical and behavioral cues. Watch for signs of effective feeding such as steady rhythmic sucking consistent swallowing and relaxed body language. Conversely be alert to potential issues like frequent pausing during feeding excessive air gulping facial grimacing or signs of discomfort. These indicators might suggest you need to adjust nipple flow rate bottle angle or feeding technique. Some babies require slower flow rates while others might need slight adjustments in bottle positioning to reduce air intake. Consider experimenting with different nipple sizes or anti colic bottle designs if you consistently notice feeding difficulties.
Maintaining a feeding journal can be an invaluable tool for tracking your babys progress and identifying patterns. Record details like feeding duration milk consumption apparent comfort levels and any observable reactions. This documentation helps you recognize subtle changes in your babys feeding preferences and provides valuable insights for discussions with pediatric healthcare providers. Remember that each baby is unique and what works perfectly one week might require modification as your infant grows and develops. Stay flexible patient and attentive to your babys evolving nutritional needs and comfort signals.
Pro Tip: Create a calm feeding environment with minimal distractions and hold your baby in a semi upright position to support optimal digestion and reduce potential gas or reflux.
Dealing with long crying episodes, feeding discomfort, and constant worry about your baby’s colic symptoms can be overwhelming. The article outlines clear challenges like identifying colic signs, choosing the right anti colic bottle, and monitoring feeding effectiveness—all crucial to soothe your baby and reduce stress. You want feeding sessions that are calm, leak-free, and supportive of your baby’s comfort and digestion.
At Family Bottle Fit, we understand these pain points deeply. Our comprehensive guides and comparison tools help you select and customize bottles that match your baby's unique feeding style—whether you’re combating nipple confusion, gas, or flow issues. Explore expert tips and user-friendly methods to test venting systems and avoid leaks so your feeding routine becomes easier and your baby happier. Don’t wait to make the change that brings peace to your family. Start your journey today by visiting Family Bottle Fit’s main page and discover step-by-step strategies for optimal bottle feeding at https://familybottlefit.xyz.
To identify colic, watch for intense, high-pitched crying, especially during the evening, lasting from several minutes to hours. Track these crying episodes to identify patterns and discuss them with your pediatrician if they occur consistently three or more times a week.
Select an anti colic bottle by evaluating your baby's specific feeding needs, such as the flow rate and type of nipple. Test various bottle styles and observe your baby's response to find the most comfortable fit for feeding.
To prepare the bottle, wash all components with antibacterial soap and warm water, then sterilize by boiling for five minutes. Carefully reassemble the bottle according to the manufacturer's instructions, ensuring all parts fit snugly to prevent leaks during feeding.
Conduct a leak test by filling the bottle with lukewarm water and turning it upside down. Ensure minimal to no liquid escapes from the nipples or seals; if leaks are present, recheck the assembly or consider component replacements.
During feeding, look for signs of effective sucking, such as steady rhythm and relaxed body language. If your baby shows discomfort or excessive air gulping, you may need to adjust the nipple flow rate or feeding angle for a more comfortable experience.
Establish a calm feeding space with minimal distractions and hold your baby in a semi-upright position to support digestion. This can help reduce gas and reflux, making feeding more comfortable for your little one.