Baby Bottle Evolution: How Innovations Solved Feeding Challenges
31st Mar•7 min read

Did you know that over 80 percent of new parents worry about proper bottle preparation during their baby’s first months? Every feeding is a chance to protect your child from germs and discomfort. Taking a step-by-step approach helps you create a safe, comforting feeding routine while lowering the risk of leaks, spoilage, or tummy troubles for your little one.
| Key Point | Explanation |
|---|---|
| 1. Clean and Inspect All Components | Ensure each bottle part is sanitized and free of wear to create a safe feeding environment for your baby. |
| 2. Test Bottle for Leaks Post-Assembly | Always perform a leak test after assembling; if leaking occurs, recheck the alignment of the components carefully. |
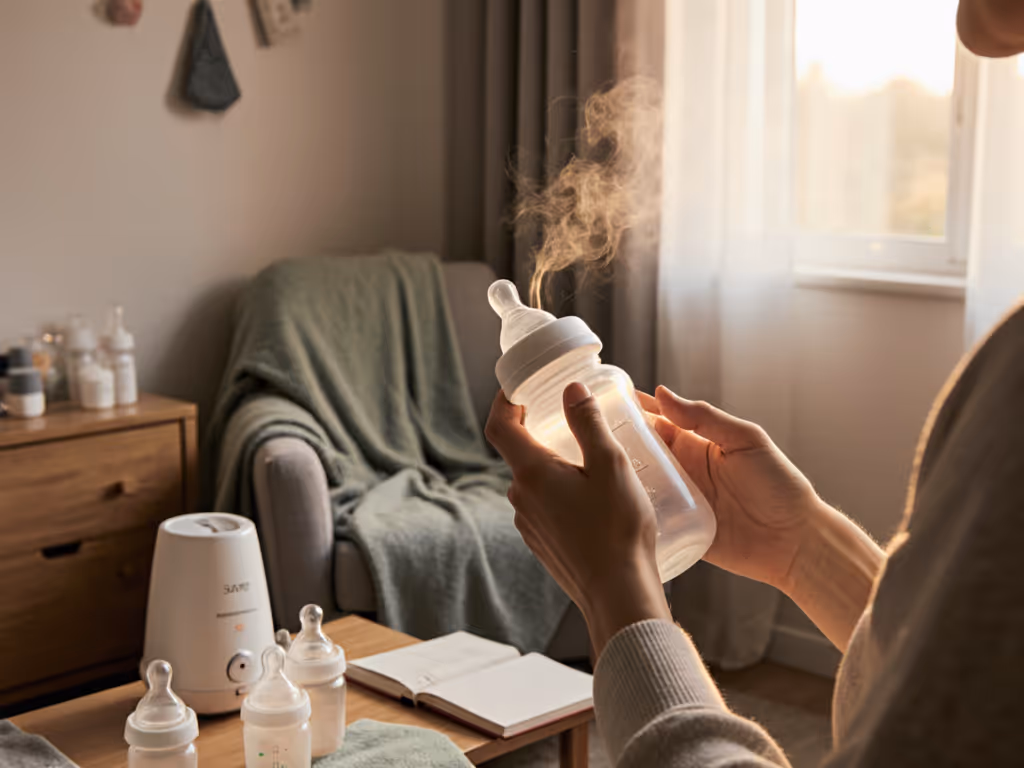
| 3. Measure and Warm Formula Safely | Accurately measure formula or milk and warm it gently to avoid hotspots, ensuring a comfortable feeding temperature for your baby. |
| 4. Position Baby Correctly During Feeding | Support your baby in a semi-upright position to promote safe swallowing and prevent discomfort during feeding. |
| 5. Observe Baby's Hunger and Fullness Signals | Learn to recognize your baby's cues and avoid forcing feeding; this fosters positive feeding habits and supports their natural rhythm. |
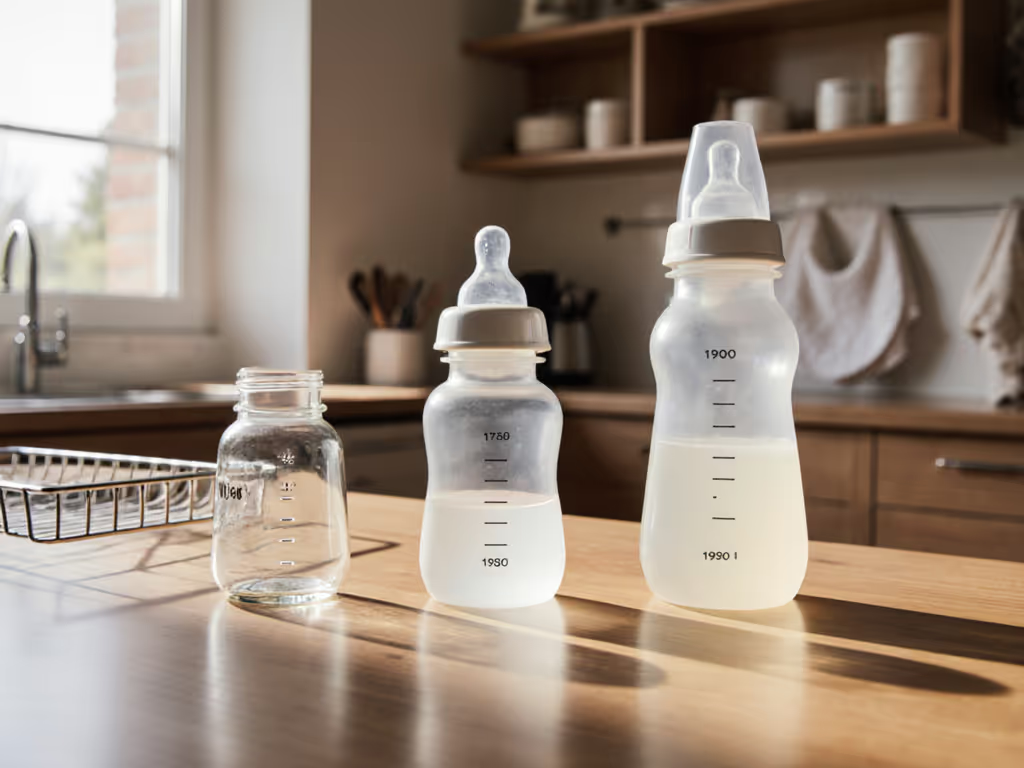
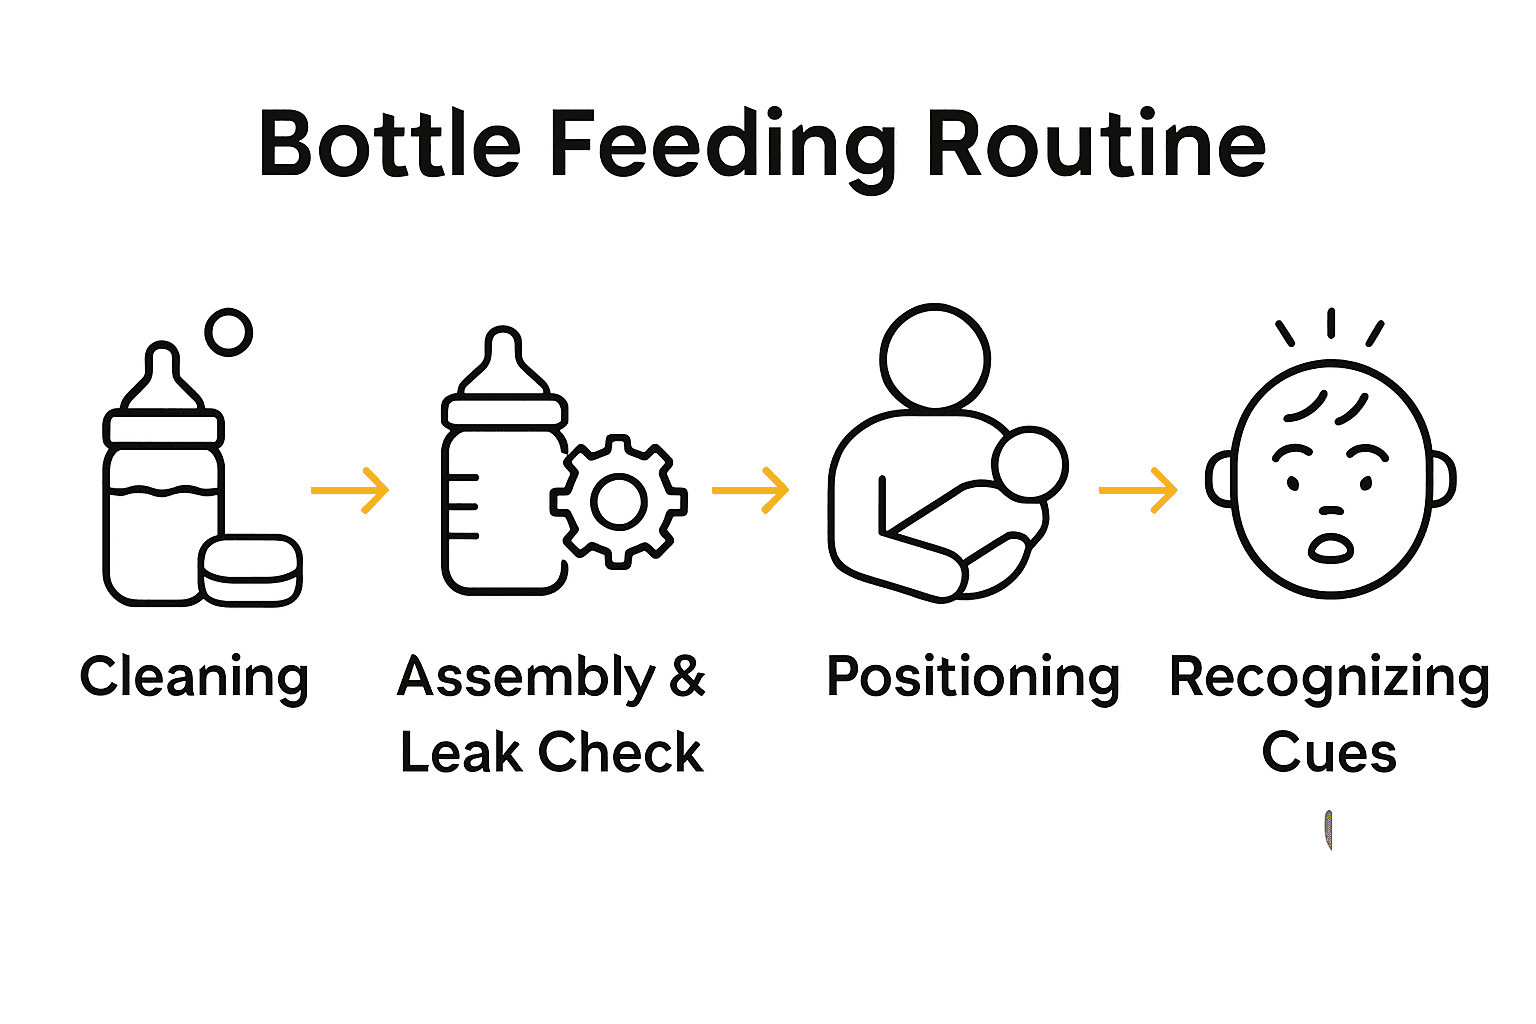
Bottle feeding preparation starts with meticulous component inspection and cleaning. Your goal is creating a safe feeding environment by carefully examining and sanitizing every single bottle part before your baby's meal.
Start by gathering all bottle components on a clean surface. This includes the bottle itself, nipple, cap, ring, and any additional attachments. Wash your hands thoroughly with soap and warm water for at least 20 seconds to prevent introducing bacteria during preparation. Carefully inspect each component for any signs of wear such as cracks, discoloration, or residue buildup. New or previously used bottles require careful examination to ensure they are intact and hygienic.
For optimal safety, clean each bottle part individually using hot water and mild dish soap. Scrub gently but thoroughly with a clean bottle brush designed specifically for infant feeding equipment. Pay special attention to nipple holes and bottle threads where milk residue can accumulate. Rinse every component under running water to remove all soap traces. If you are using bottles for the first time or want extra sanitization protection, consider boiling the components for 5 minutes or using a steam sterilization method recommended by the manufacturer.
Quick pro tip: Always have a designated clean workspace and drying rack for bottle components. Avoid placing clean parts on potentially contaminated surfaces like kitchen counters or dish towels. After cleaning, allow bottle pieces to air dry completely on a sanitized rack before reassembling.
With your bottle components now spotlessly clean and carefully inspected, you are ready to move forward to the next critical step of preparing your baby's formula or milk.
Preparing a leak-free bottle is crucial for a smooth feeding experience. Your goal is to confidently assemble the bottle components so that you can prevent messy spills and ensure your baby receives their entire meal without interruption.
Begin the assembly process by carefully matching each component to its designated spot. Start with the nipple first. Check that the nipple is seated correctly in the bottle rim without any wrinkles or folds that could compromise the seal. Next place the securing ring around the nipple base. Gently but firmly twist the ring to create a secure connection. Be mindful not to over tighten these components as excessive force can actually create gaps that cause leaking.
Once assembled conduct a simple leak test before filling the bottle with formula or milk. Hold the bottle upside down and give it a gentle shake. Watch carefully for any liquid escaping from the seams or around the nipple area. If you notice small droplets or continuous leaking repeat the assembly process ensuring each part is properly aligned. Some parents find rotating the bottle slowly during this test helps identify potential weak points in the seal. If persistent leaking occurs it might indicate worn out components that need replacement.
Quick pro tip: Keep a few spare bottle parts on hand. Nipples and rings can wear out quickly with frequent use which increases the likelihood of leaks. Regularly inspect your bottle components for signs of stretching cracks or deformation that could compromise their performance.
With your bottle now expertly assembled and tested you are ready to move forward to preparing the perfect feeding for your little one.
Successfully preparing your baby's bottle involves precise measurement and gentle warming techniques. Your primary goals are ensuring accurate nutritional proportions and creating a comfortable feeding temperature that will soothe your little one.
Start by carefully measuring formula powder according to the manufacturer's specific instructions. Use the scoop provided in the formula container and level it off precisely to avoid under or over concentration. For liquid breast milk or premixed formula, measure the desired amount using the bottle's measurement markings. Always use clean water that meets safety standards when mixing powdered formula. When warming the bottle choose gentle methods like placing it in a bowl of warm water or running it under lukewarm tap water. Avoid using microwaves which can create dangerous hot spots and uneven heating that could potentially burn your baby's sensitive mouth.
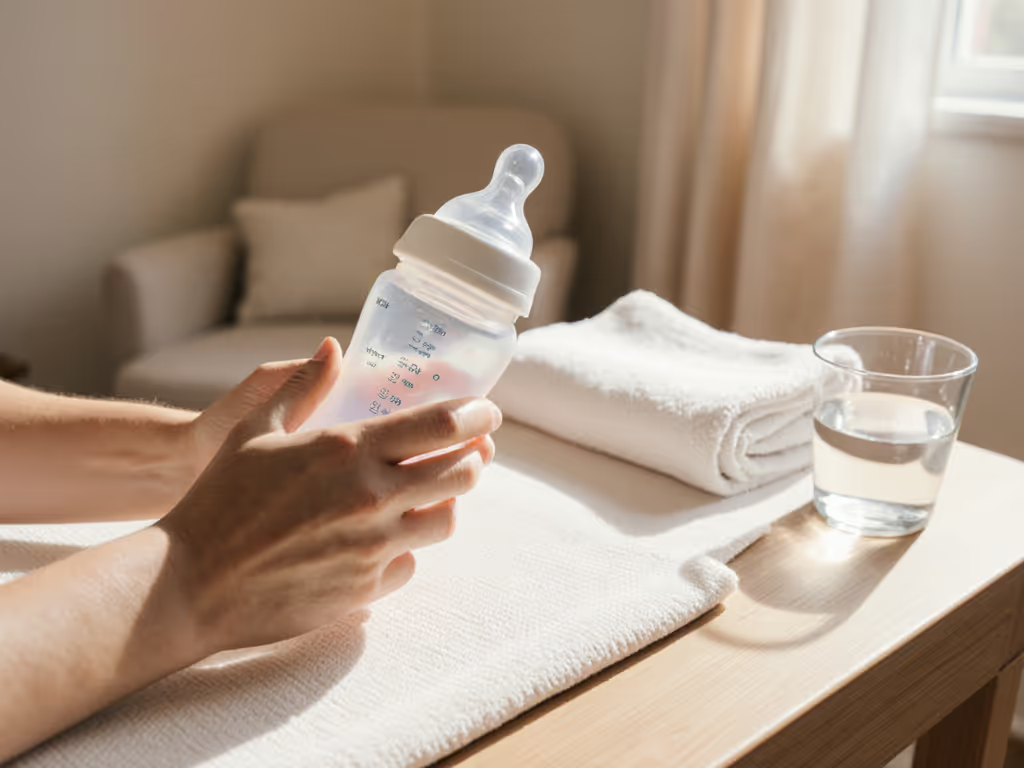
Before feeding always perform a temperature check. Shake a few drops on the inside of your wrist to confirm the liquid is comfortably warm not hot. The ideal temperature feels neutral neither cold nor warm. If the liquid feels too hot let it cool down for a few moments. Some parents find it helpful to use a bottle warmer with precise temperature controls for consistent results. Remember that newborns and younger infants have more sensitive temperature perceptions compared to older babies.
Quick pro tip: Prepare only the amount of formula your baby will consume in one feeding. Unused mixed formula should be discarded after one hour to prevent bacterial growth and potential foodborne illnesses. Keep prepared bottles refrigerated if not used immediately and always follow safe storage guidelines.
With your bottle perfectly warmed and portioned you are now ready to create a calm and nurturing feeding experience for your little one.
Bottle feeding is more than just nutrition. It is a precious bonding moment that requires careful attention to your baby's physical comfort and safety. Your goal is creating a secure feeding position that supports your baby's body and promotes easy swallowing and breathing.
Choose a comfortable chair or supportive surface where you can sit upright and maintain stability. Hold your baby in a semi upright position approximately 45 degrees. Cradle their head and neck with your forearm providing consistent support. Their head should rest gently in the crook of your elbow while their body remains aligned and slightly elevated. This positioning helps prevent milk from flowing too quickly and reduces the risk of ear infections by keeping their head higher than their stomach. If you are using a nursing pillow or additional support make sure it allows you to maintain eye contact and keeps your baby at a comfortable angle.
Pay close attention to your baby's body language during feeding. Watch for signs of discomfort such as squirming pulling away or difficulty breathing. Some babies prefer slight variations in positioning so be prepared to make gentle adjustments. Experiment with different holds like the classic cradle hold football hold or side lying position to discover what works best for your little one. Remember that newborns and younger infants require more head and neck support compared to older babies who can hold their heads more steadily.
Quick pro tip: Always keep one hand supporting your baby during feeding even if they seem secure. Babies can unexpectedly move or wiggle which could cause them to slip or become uncomfortable. Practice makes perfect so dont get discouraged if it takes some time to find your ideal feeding rhythm.
With your baby comfortably positioned you are now ready to begin a peaceful and nurturing feeding session.

Feeding time is a delicate dance of communication between you and your baby. Your objective is to learn and interpret your baby's unique hunger and fullness signals while creating a calm feeding experience that respects their natural eating rhythm.
Before starting the feed look for early hunger cues that indicate your baby is ready to eat. These might include subtle signs like rooting turning their head toward your hand making sucking motions or putting their hands near their mouth. When you notice these signals gently bring the bottle to their lips allowing them to draw the nipple into their mouth naturally. Avoid forcing the nipple or pushing it past their comfort level. During feeding pay attention to their pace some babies will drink quickly while others take slow measured sips. Watch for natural pauses and rhythm in their sucking which helps prevent overfeeding and reduces the chance of uncomfortable gas or spit up.
As the feeding progresses continue to monitor your baby's body language for signs of fullness or discomfort. Typical fullness cues include turning away from the bottle slowing down or stopping sucking becoming distracted or falling asleep. If your baby starts showing these signals gently remove the bottle and do not try to encourage more feeding. Every baby has different intake requirements and learning to respect their individual signals is key to establishing healthy eating habits. Some babies might need short breaks during feeding to burp or catch their breath which is completely normal and helps prevent excess air intake.
Quick pro tip: Keep feeding sessions relaxed and pressure free. If your baby seems uninterested or becomes fussy it is okay to pause the feed and try again later. Forcing feeding can create negative associations and stress around mealtimes.
With your baby fed and content you have successfully navigated another important bonding moment in their nutritional journey.
Burping your baby is a crucial step in the feeding process that helps prevent discomfort and potential digestive issues. Your primary goal is to gently release any trapped air swallowed during feeding which can cause gas bloating and fussiness.
Choose a comfortable burping position that works best for you and your baby. The most common methods include the over the shoulder hold where you support your baby against your chest with their chin resting on your shoulder. Alternatively try the sitting on lap method where you sit your baby upright on your lap supporting their chest and head with one hand while gently patting or rubbing their back with the other. Some babies prefer being held slightly forward which can help air bubbles rise more easily. Use gentle circular motions or soft pats on their back to encourage burping. Do not be discouraged if your baby does not burp immediately sometimes it takes a few minutes and multiple attempts.
Pay close attention to your baby during and after burping. Watch for signs of discomfort or additional gas such as squirming turning away or showing signs of continued unease. If your baby does not burp after a few minutes it is okay to continue with their routine. Some babies naturally swallow less air during feeding and might not need extensive burping. Each baby is unique in their digestive patterns and comfort levels. Be patient and responsive to their individual needs adjusting your technique as you learn their specific signals.
Quick pro tip: Keep a soft burp cloth or towel handy during feeding and burping sessions. Babies sometimes spit up during or after burping which can help prevent unexpected messes on your clothing or furniture.
With burping complete you have successfully supported your baby through another feeding session helping them feel comfortable and content.
Mastering the step-by-step bottle feeding technique is essential for creating peaceful and comfortable feeding moments with your baby. This article highlights key challenges like ensuring a secure bottle assembly, maintaining the right feeding temperature, and reading your baby's responsive cues to avoid discomfort and fussiness. If you find yourself worrying about leaks, air intake, or finding the perfect nipple flow that suits your little one's unique needs, you are not alone. Parents often struggle with selecting the right bottle components that promote safe feeding and minimize common issues such as gas and feeding refusal.
Discover how Family Bottle Fit can support your journey by offering expert guidance and customized solutions tailored specifically for your baby's feeding style. Our comprehensive resources help you pick compatible nipples, vents, and bottles focused on safety and comfort. With practical tips and data-driven methods, you can prevent leaks, reduce nipple confusion, and provide your baby with a calm and content feeding routine. Start exploring proven strategies today and turn those precious feeding times into truly bonding moments with your baby by visiting Family Bottle Fit. Take action now and give your baby the most comfortable feeding experience possible.
To prepare bottle components safely, start by inspecting each part for cracks or residue. Clean each component with hot, soapy water and use a bottle brush for thorough scrubbing, paying special attention to nipple holes and threads. Allow all parts to air dry completely on a sanitized rack before reassembling.
Assemble the bottle by securely placing the nipple into the rim and twisting the securing ring without over-tightening. To check for leaks, hold the assembled bottle upside down and shake gently; if any liquid escapes, reassemble the components to ensure a proper seal.
When warming formula or milk, use gentle methods like placing the bottle in warm water or running it under lukewarm tap water. Always measure formula according to the manufacturer's instructions and check the temperature by shaking a few drops on your wrist before feeding to ensure it feels neutral and safe.
Position your baby in a semi-upright position at about 45 degrees, supporting their head and neck with your forearm. This positioning helps prevent discomfort during feeding by allowing easier swallowing and reducing the risk of ear infections.
Look for early hunger cues, such as rooting or sucking motions, to know when your baby is ready to eat. During the feed, signs of fullness include turning away from the bottle or falling asleep; respond by gently removing the bottle to prevent overfeeding.
To burp your baby, try holding them against your chest or sitting them upright on your lap and gently patting or rubbing their back. If they do not burp within a few minutes, it’s okay to resume your routine as not all babies need extensive burping after every feed.